![]()
M151A1
Light Utility Truck
Academy 1323
1/35
My review of the Academy kit is here: m151a1-review. I wanted to build my jeep as most typical Vietnam variant. Academy kit needed some small corrections to make it accurate M151A1 and also some extra changes to make it look like early M151A1, most common in Nam. I used Eduard photoetched set for the Academy kit.
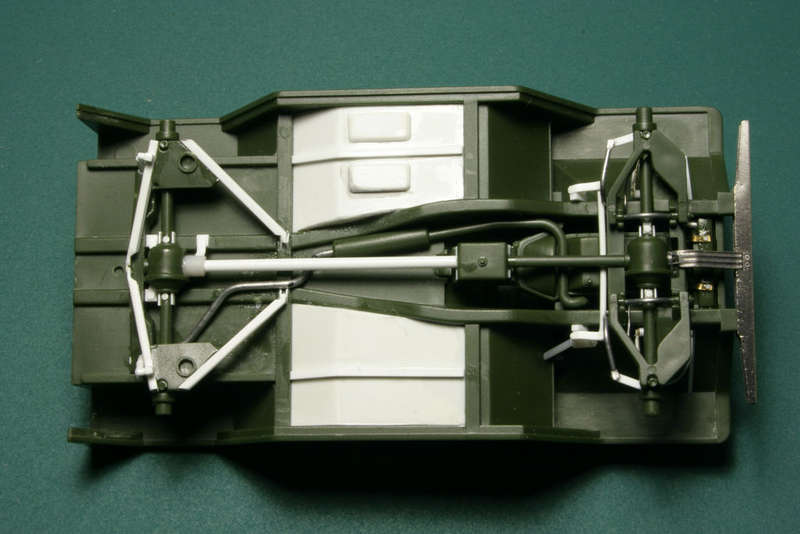
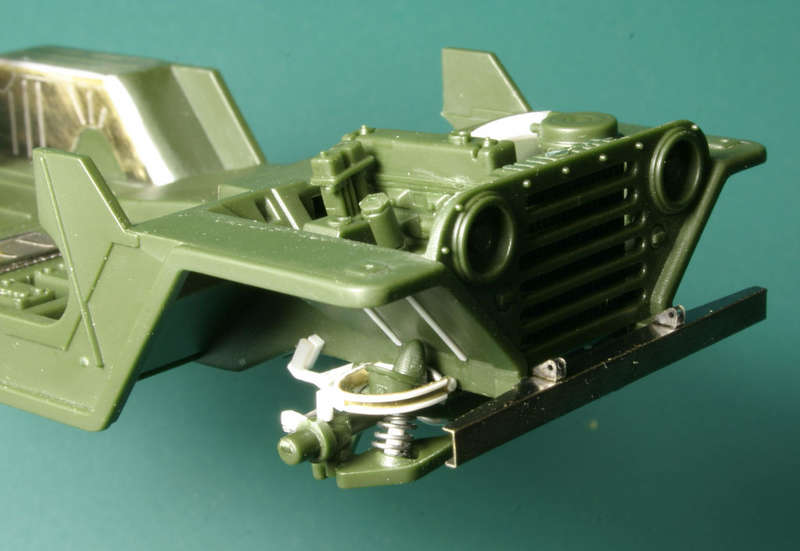
First thing I modified was suspension, as Academy kit has M151A2 trailing arm type rear suspension instead of correct swinging A-frame as used on M151A1. I scratchbuilt new parts using some pieces of kit parts. This modification will be hardly noticeable on the finished model, but I know it is there (and I have transparent glass shelves in my display case!). I also added some parts to front suspension, as kit parts are a bit too simplified to my taste and the area behind the front wheels will be very visible on finished model. Also modified was the shape of the rear fender, behind the rear wheels (see kit review for more details).
 |
 |
|
Bottom of the kit shows various
details added. Click on the picture to enlarge it. |
Modified rear
suspension. Click on the picture to enlarge it. |
 |
|
|
Details added to front suspension. Click on the picture to enlarge it. |
|
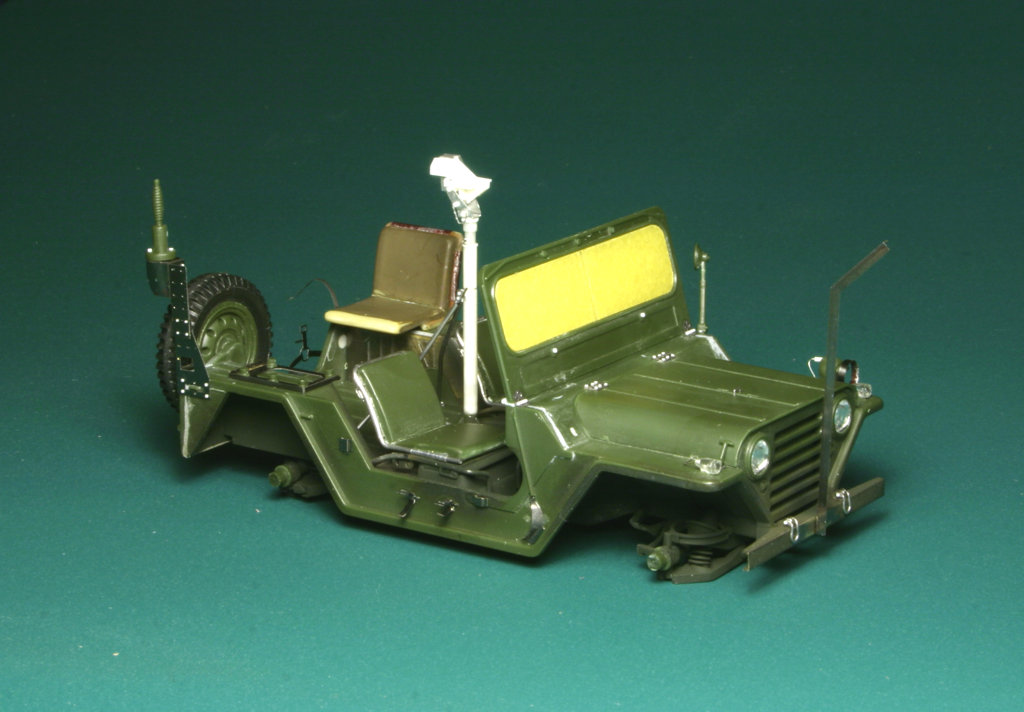
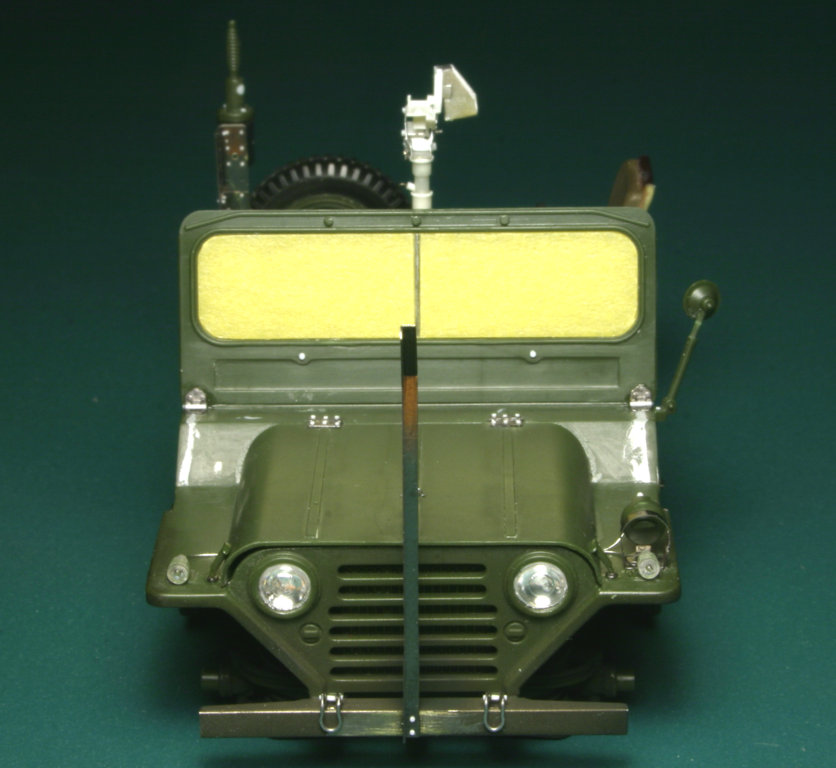
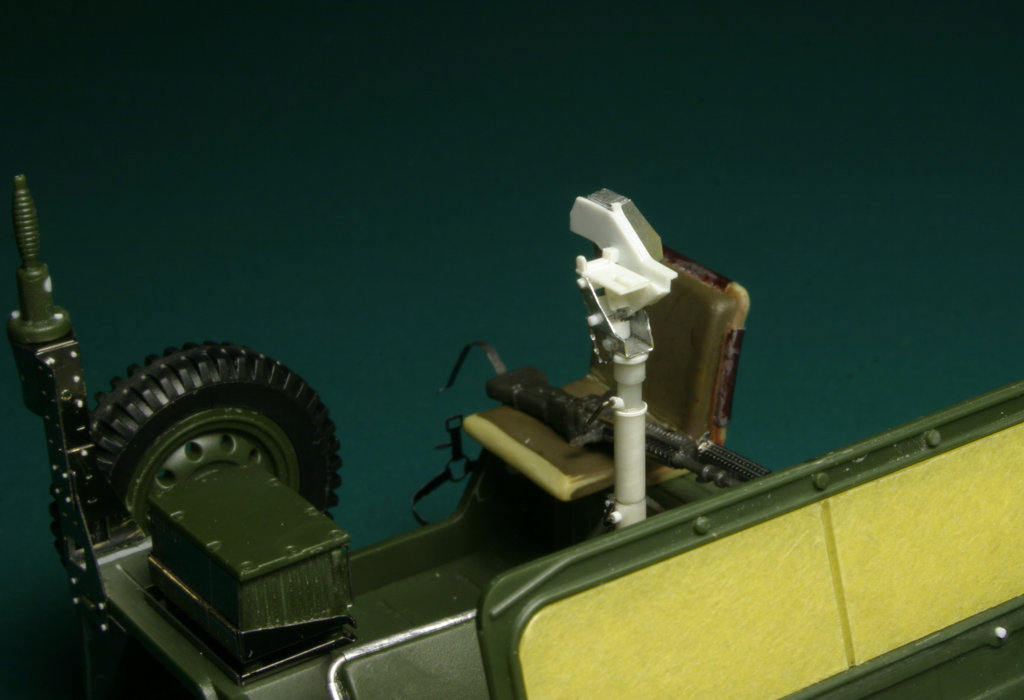
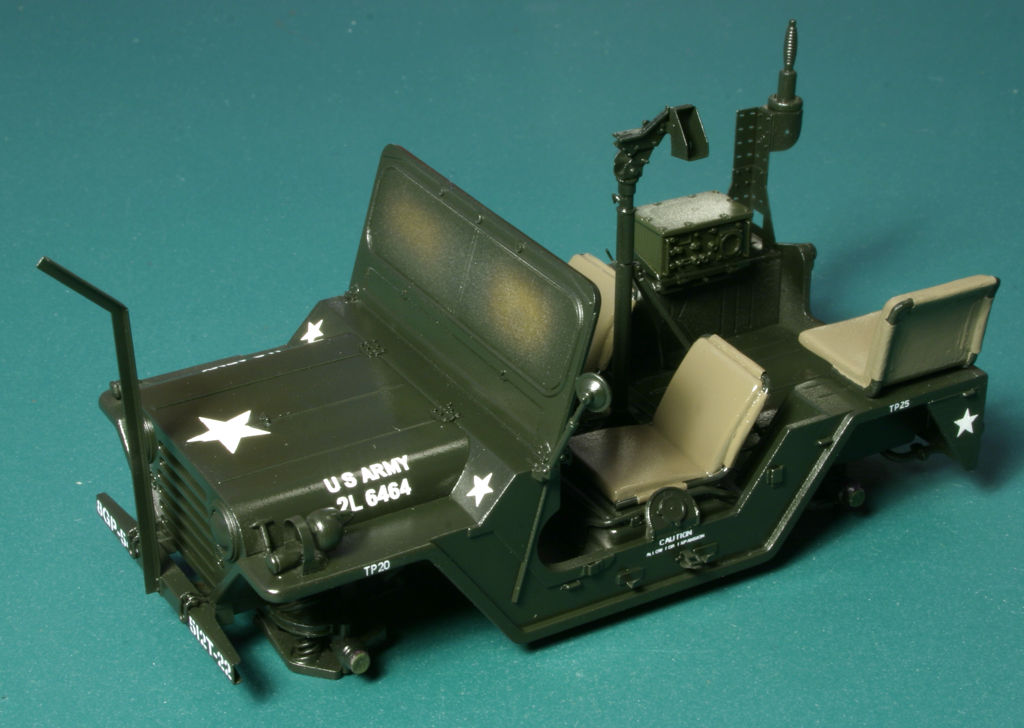
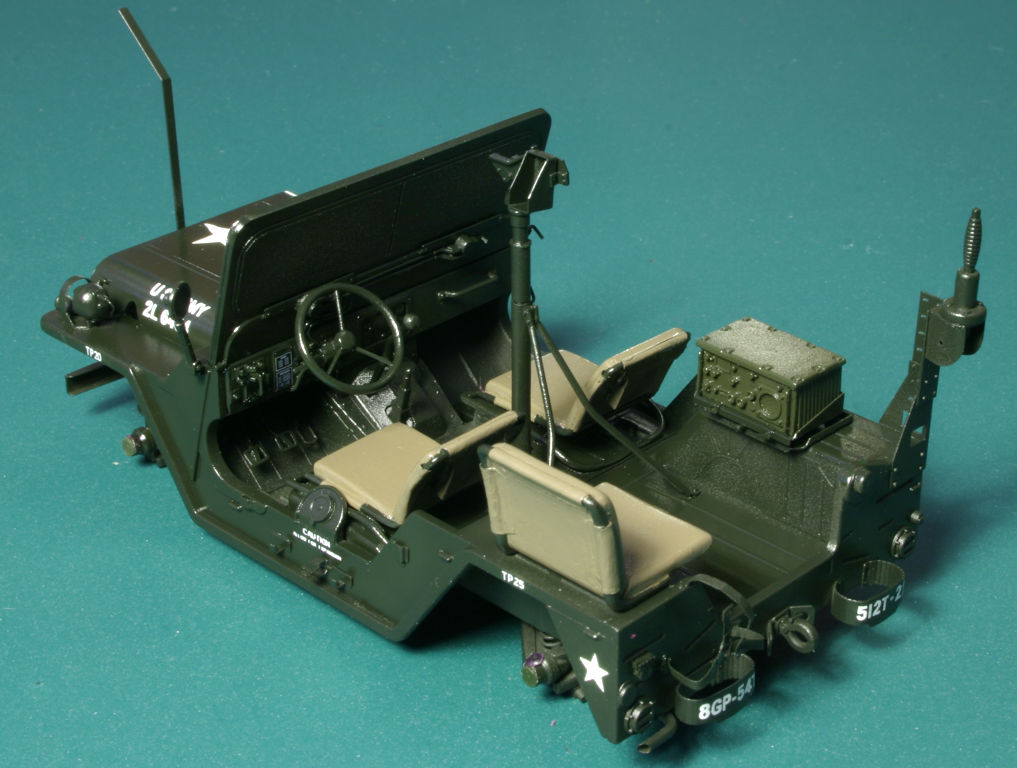
Another change required to make the kit more accurate A1 variant, was modification of the steering wheel. To make my model look like early M151A1 as used in Vietnam, I removed heater related parts located in front of the windshield on the right side of the vehicle.
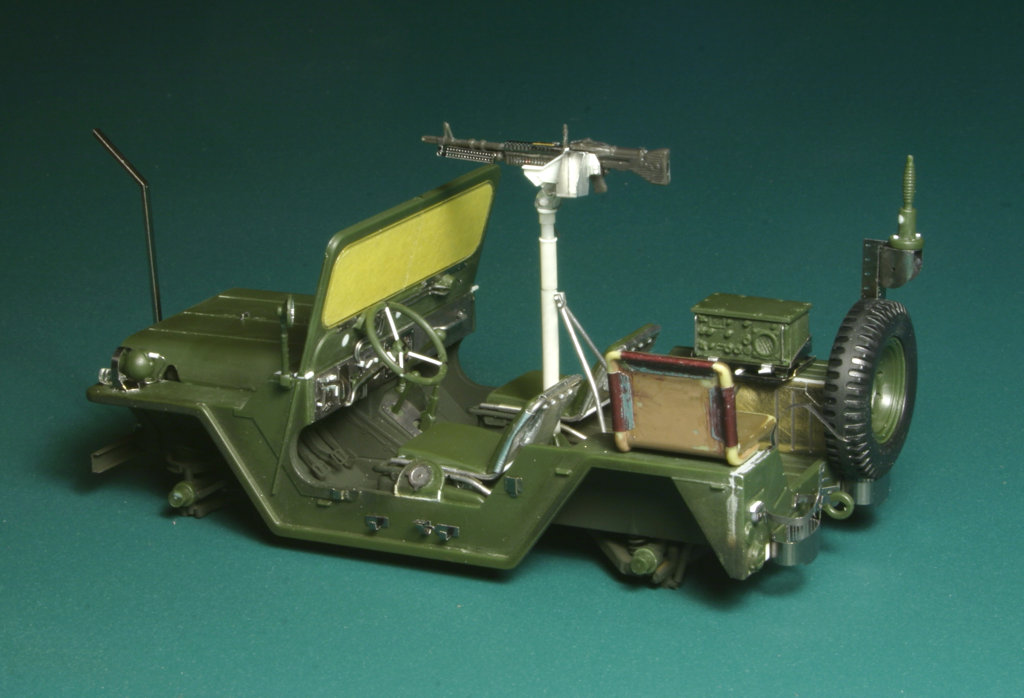
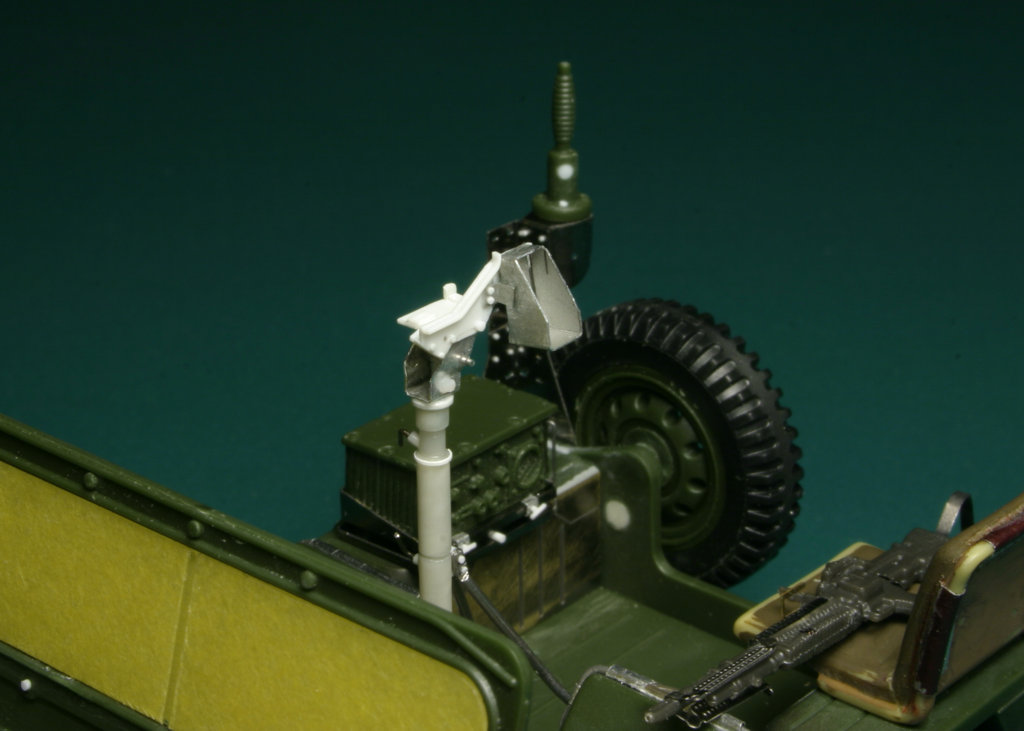
I scratchbuilt new pedestal for M60 machine gun as the one in the kit didn't look convincing. There was many kinds of M60 gun mounts used on jeeps in Vietnam - most improvised by units, but the one I built for my model shows the "official" design of the M60 gun mount kit for M151. I added gunner's seat to the rear of the jeep (from older Academy M151A2 kit).
 |
 |
|
Overall view. Click on the picture to enlarge it. |
Overall view. Click on the picture to enlarge it. |
 |
 |
|
View from the front - note heater parts missing on the left side of the photo. Click on the picture to enlarge it. |
Modified
steering wheel and added seat are visible here. Click on the picture to enlarge it. |
 |
 |
|
Scratchbuilt gun mount. Click on the picture to enlarge it. |
Scratchbuilt
gun mount. Click on the picture to enlarge it. |
Model was painted OD using Tamiya acrylic olive drab paint mixed with about 25% Tamiya flat black. I then used slightly lighter shade of the paint mix (OD plus about 15% black) to add subtle shading. White stars were painted using masks provided in Eduard PE set. Model was then sprayed with Future to make surface glossy in preparation for decals and washes (a.k.a. filters). Only decals on front bumper came from Academy kit. Most are from the sheet I designed and had custom printed by Mike Grant (http://mikegrantdesign.com/decals/index.html). I also used dry transfers from Verlinden (stencil under fuel filler cap), Archer (TP25 tire pressure marking on rear fenders) and decals from Reheat (placards on dashboard) and Italeri (TP20 on front fenders).
 |
 |
|
With decals applied and gloss cote sealing them, model awaits oil paint washes. Click on the picture to enlarge it. |
Rear left
quarter view. Click on the picture to enlarge it. |
I finished my model and you can see it in the gallery >here<. I may use this web page to prepare short article about building more accurate M151A1 kit in the future, but it won't be written any time soon, so in the meantime I will keep this page in Current Projects section.
![]()
![]()
Copyright © 2004 VODNIK, mailto:pawel@vodnik.net